Users & Roles
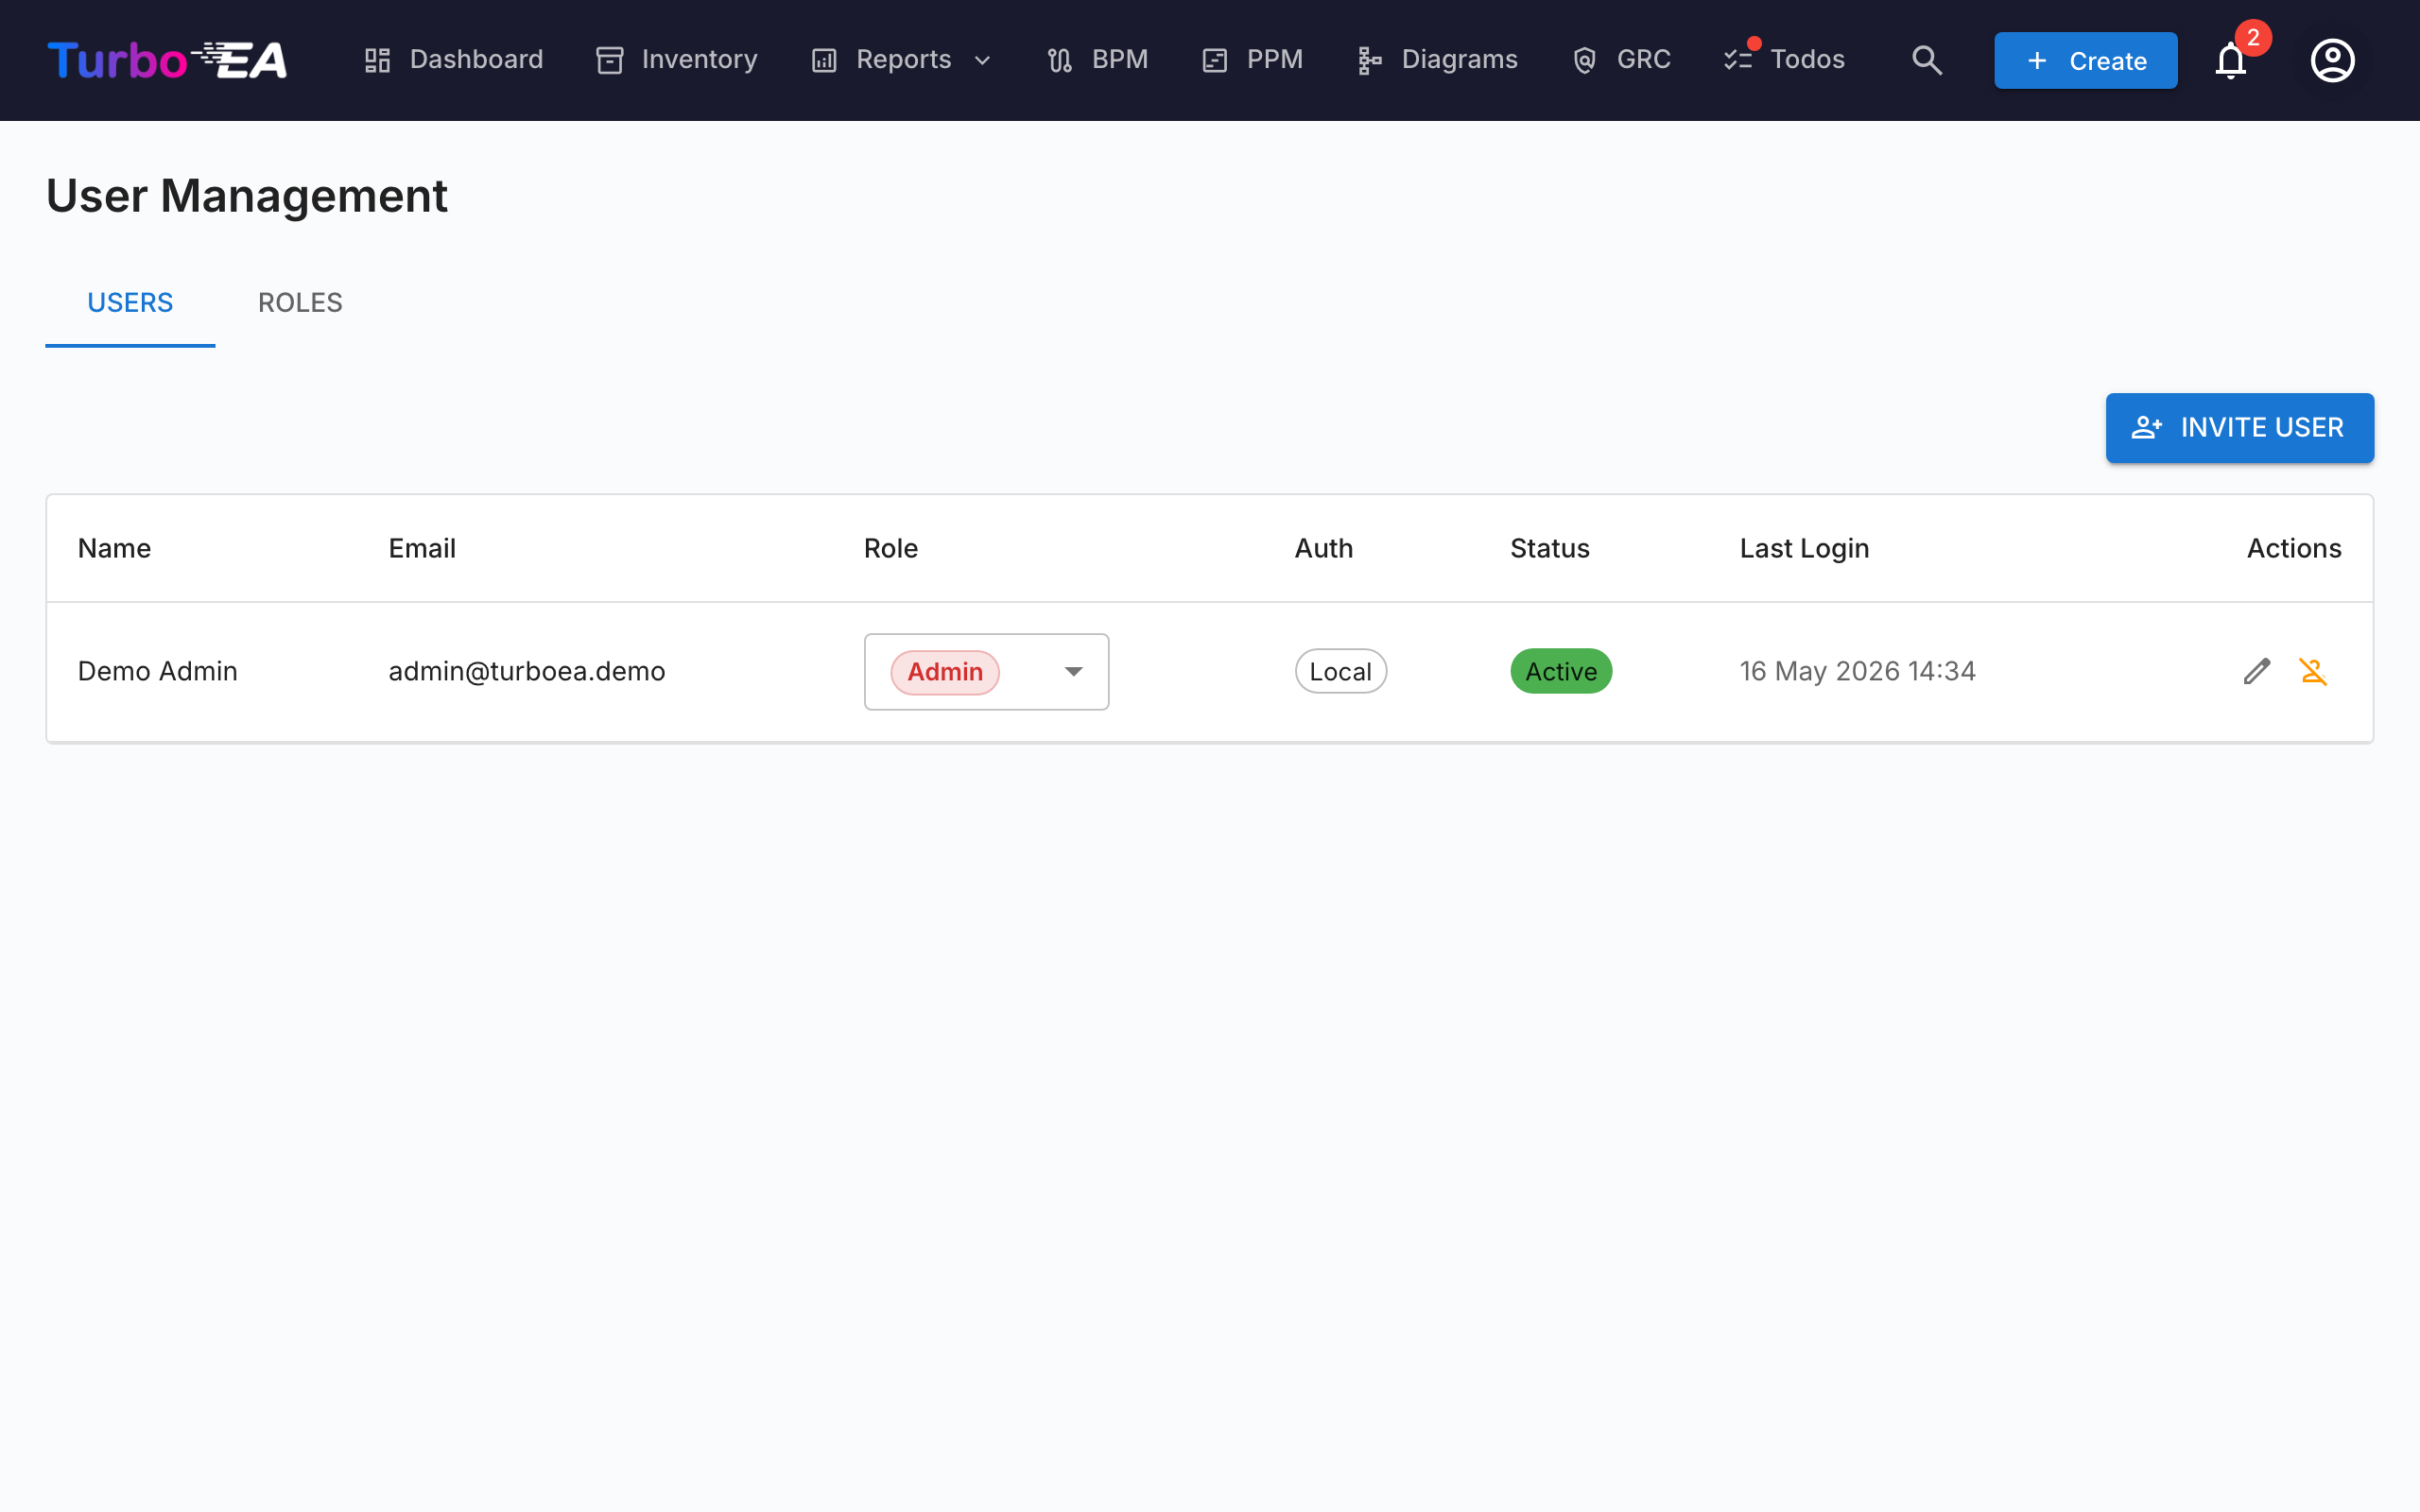
The Users & Roles page has two tabs: Users (manage accounts) and Roles (manage permissions).
User Table
The user list is an AG Grid (the same Quartz layout used on the Inventory page) with a resizable filter sidebar on the left. The displayed columns are:
| Column | Description |
|---|---|
| Name | User's display name |
| Email address (used for login) | |
| Role | Assigned role (selectable inline via dropdown) |
| Auth | Authentication method: "Local", "SSO", "SSO + Password", or "Pending Setup" |
| Last Login | Date and time of the user's most recent login. Shows "—" if the user has never logged in |
| Status | Active or Disabled |
| Actions | Edit, activate/deactivate, or delete the user |
Filter Sidebar
A two-tab sidebar (Filters and Columns) sits on the left of the grid:
- Search — substring match across name and email.
- Role — multi-select chips with the role's colour, so you can scope to e.g. "all members + viewers".
- Status — Active / Disabled.
- Auth method — Local / SSO / SSO + Password / Pending Setup.
- Pending password setup only — quick toggle for finding invited users who haven't completed onboarding yet.
- Columns tab — show/hide individual columns.
Filter state, visible columns, the sidebar width and its collapsed state are persisted per user in localStorage under the turboea_usersAdmin key — they survive logouts and page reloads.
Creating a User
- Click the Create user button (top right). Sending an invitation email is just one option on the dialog — the primary action is creating the account.
- Fill in the form:
- Display Name (required): The user's full name
- Email (required): The email address they will use to log in
- Password (optional): If left blank and SSO is disabled, the user receives an email with a password setup link. If SSO is enabled, the user can sign in via their SSO provider without a password
- Role: Select the role to assign (Admin, Member, Viewer, or any custom role)
- Send invitation email: Check this to send an email notification to the user with login instructions
- Click Create user to create the account.
What happens behind the scenes: - A user account is created in the system - An SSO invitation record is also created, so if the user logs in via SSO, they automatically receive the pre-assigned role - If no password is set and SSO is disabled, a password setup token is generated. The user can set their password by following the link in the invitation email
Editing a User
Click the edit icon on any user row to open the Edit User dialog. You can change:
- Display Name and Email
- Authentication Method (visible only when SSO is enabled): Switch between "Local" and "SSO". This allows administrators to convert an existing local account to SSO, or vice versa. When switching to SSO, the account will be automatically linked when the user next logs in via their SSO provider
- Password (only for Local users): Set a new password. Leave blank to keep the current password
- Role: Change the user's application-level role
Linking an Existing Local Account to SSO
If a user already has a local account and your organization enables SSO, the user will see the error "A local account with this email already exists" when they try to log in via SSO. To resolve this:
- Go to Admin > Users
- Click the edit icon next to the user
- Change the Authentication Method from "Local" to "SSO"
- Click Save Changes
- The user can now log in via SSO. Their account will be automatically linked on first SSO login
Bulk Operations
Use the row checkboxes in the user grid to select multiple users at once. A bulk action toolbar appears above the grid with these options:
- Change role — assign a single role to every selected user
- Activate / Deactivate — flip
is_activefor the selection - Delete — permanently delete the selected users (only deactivated users are removed; active users in the selection are skipped with an explanation)
The "last admin" guard applies: bulk role changes that would leave zero active admins are refused, and the same applies to deactivating or deleting the final admin.
Importing Users from a Spreadsheet
- Click the Import button (top right). The wizard opens with a drag-and-drop area for
.xlsxfiles. - Drop or browse an Excel file. The expected columns are:
| Column | Required | Description |
|---|---|---|
email |
Yes | Used as the user's identity (case-insensitive). |
display_name |
Yes | The user's full name shown across the app. |
role |
No | Role key (e.g. admin, member, viewer). Defaults to viewer when blank. |
password |
No | Local accounts only. Leave blank to let invitees set their own password via the invitation link. |
locale |
No | UI locale (e.g. en, de, fr). |
is_active |
No | TRUE / FALSE — overrides the active flag on existing users. |
- The wizard validates the file and shows a report: rows to create, rows to update (with a per-field diff), errors that block the import, and warnings that don't.
- If there are new rows, toggle Send invite emails to new users. When on, every new user receives an invitation email with a sign-in or password-setup link.
- Click Import to apply. A progress bar shows the per-row status; the final screen lists creates, updates, and failures.
The fastest way to start is to click Export first, edit the resulting .xlsx, and re-import the same file — the wizard will detect existing emails as updates rather than creates.
Exporting the User List
Click the Export button (top right) to download the currently filtered user list as an Excel file (users_export_YYYY-MM-DD_HHMM.xlsx). The export honors any filters and search terms set in the sidebar, so you can scope the export to a subset (e.g. only invited users, or only one role).
Pending Invitations
Below the user table, a Pending Invitations section shows all invitations that have not yet been accepted. Each invitation shows the email, pre-assigned role, and invitation date. You can revoke an invitation by clicking the delete icon.
Roles
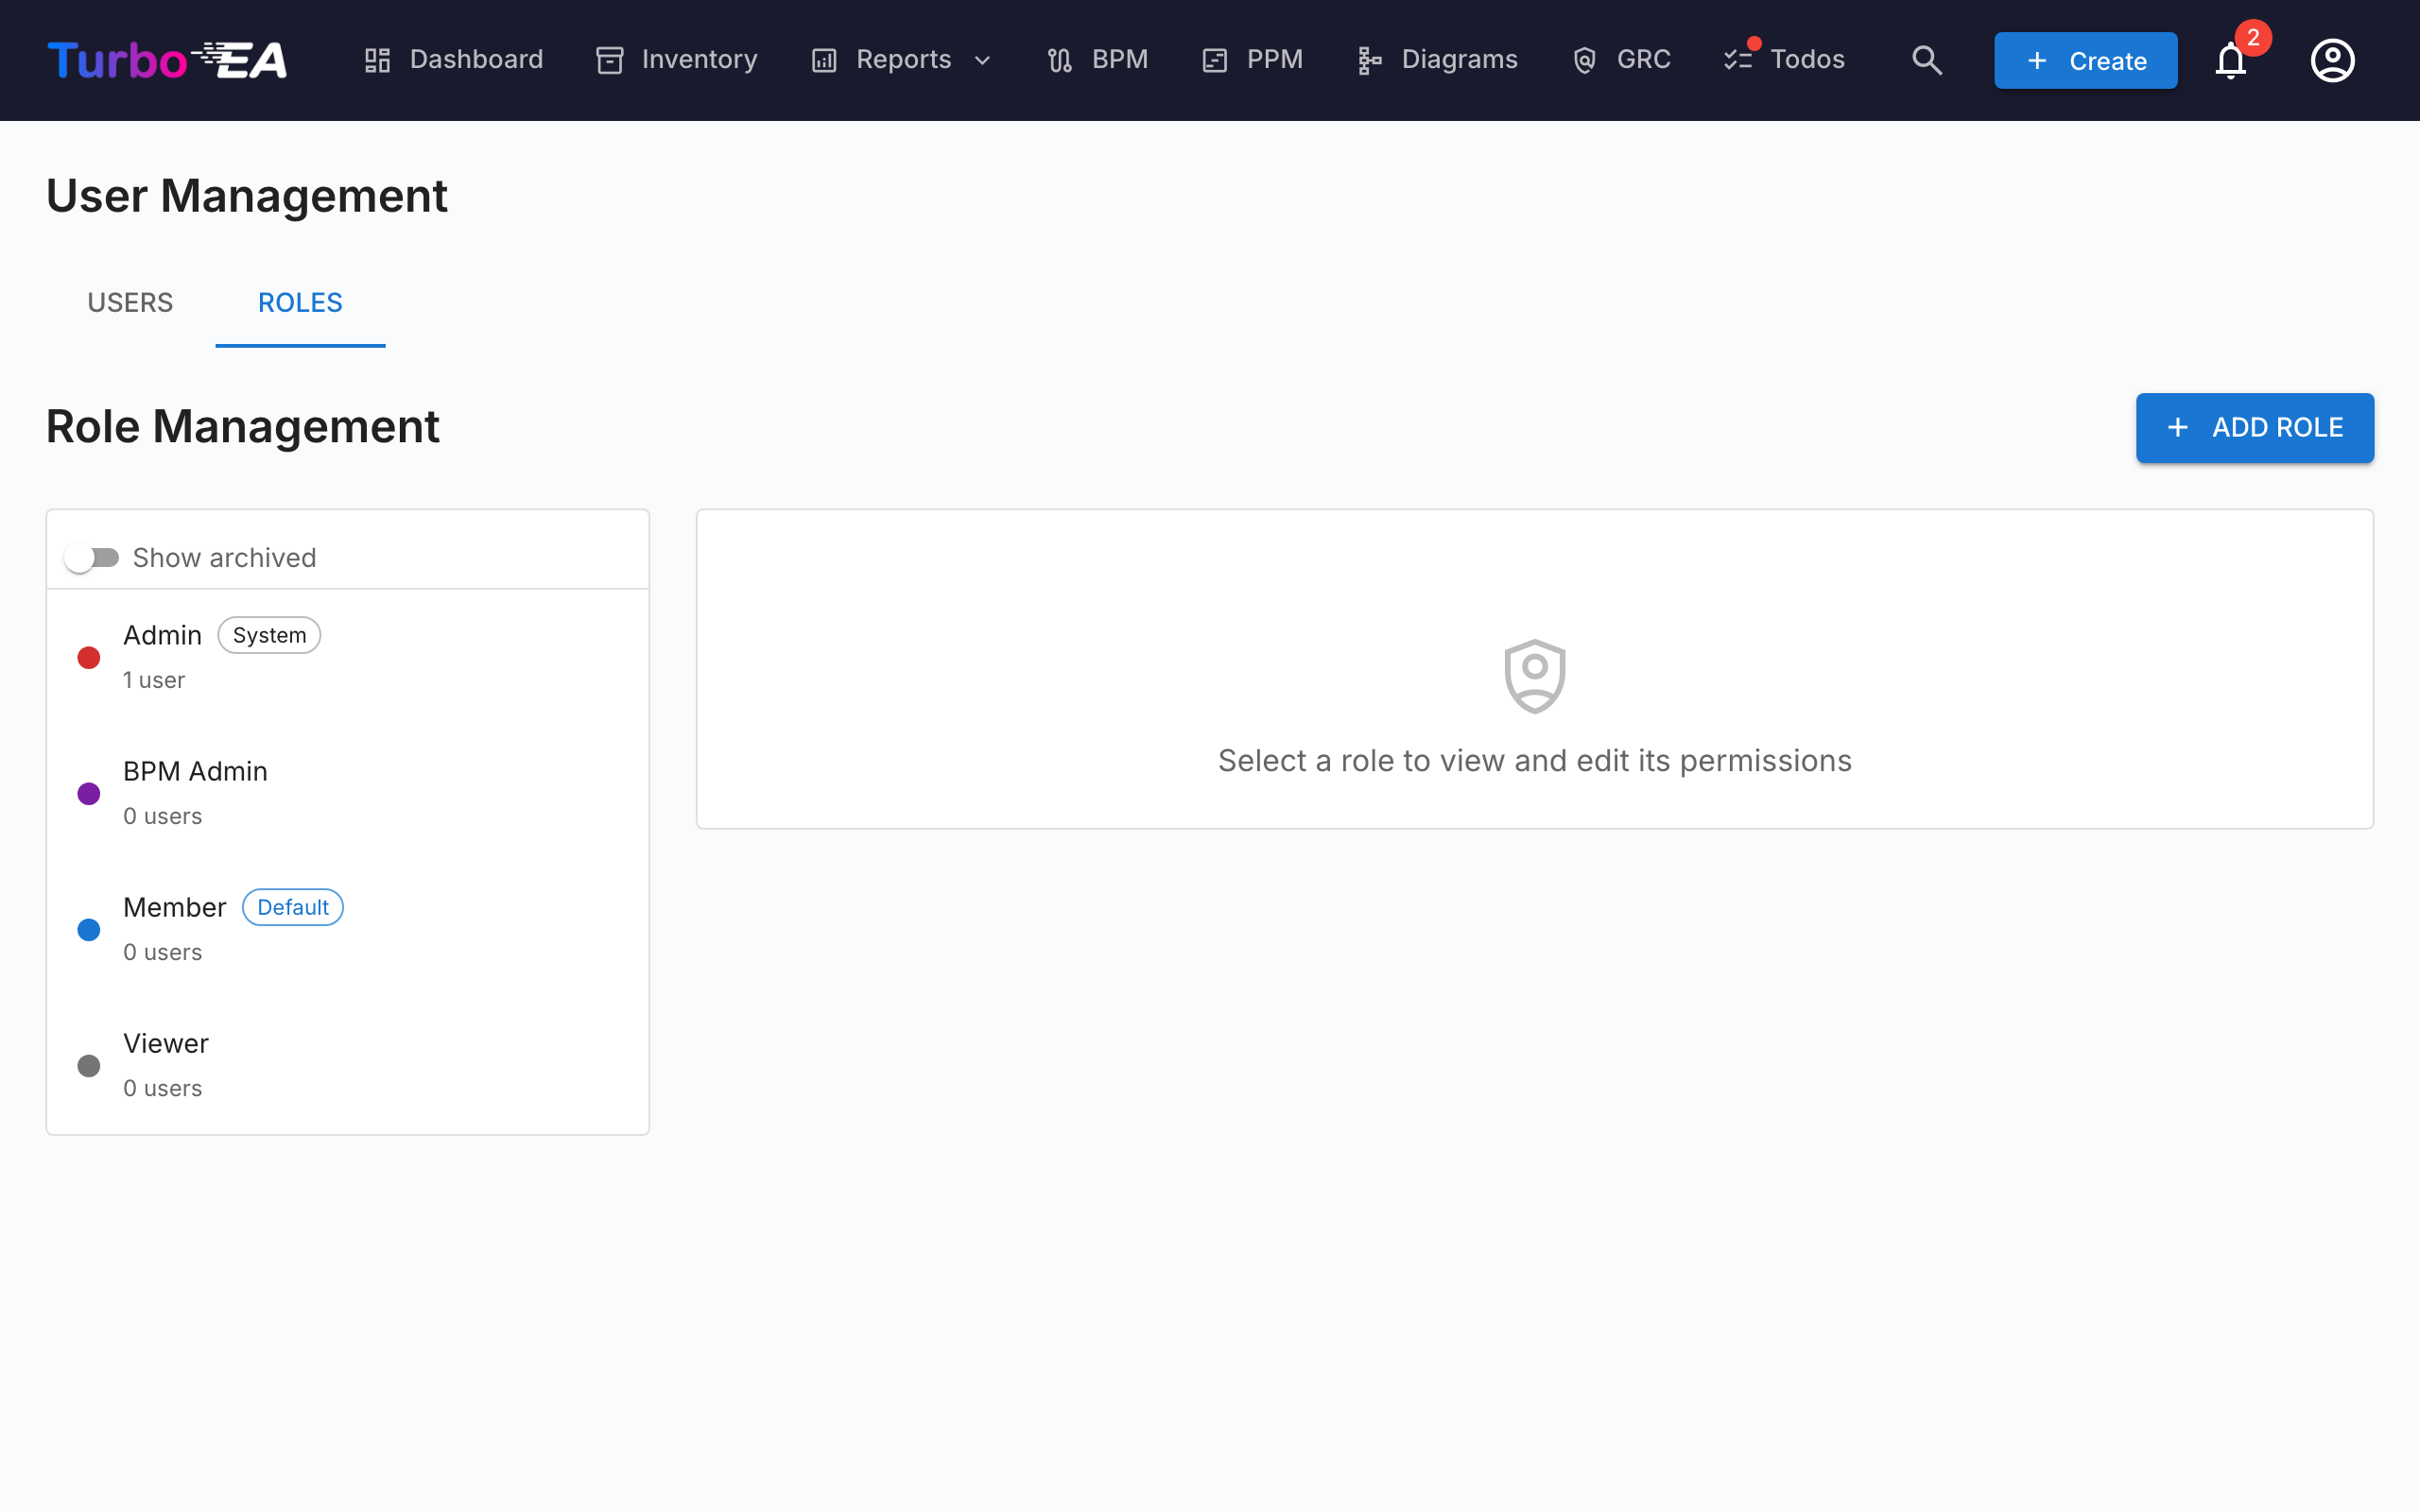
The Roles tab allows managing application-level roles. Each role defines a set of permissions that control what users with that role can do. Default roles:
| Role | Description |
|---|---|
| Admin | Full access to all features and administration |
| BPM Admin | Full BPM permissions plus inventory access, no admin settings |
| Member | Create, edit, and manage cards, relations, and comments. No admin access |
| Viewer | Read-only access across all areas |
Custom roles can be created with granular permission control over inventory, relations, stakeholders, comments, documents, diagrams, BPM, reports, and more.
Deactivating a User
Click the toggle icon in the Actions column to activate or deactivate a user. Deactivated users:
- Cannot log in
- Retain their data (cards, comments, history) for audit purposes
- Can be reactivated at any time